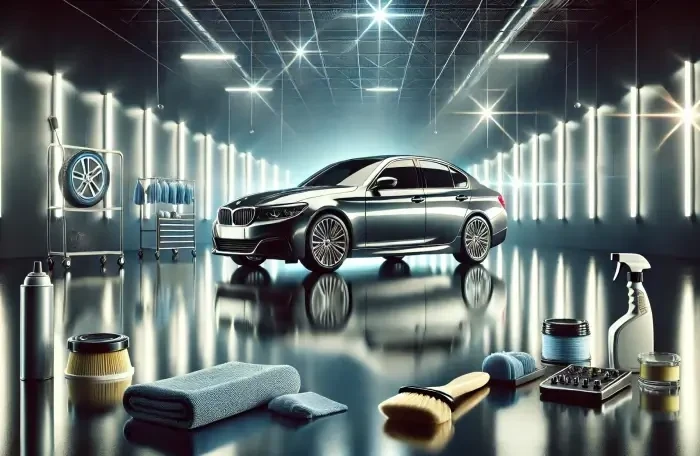
Professional automotive maintenance is more than just making a car look shiny for a weekend. It is a systematic process of surface restoration that preserves the actual value of the vehicle. Most owners make the mistake of jumping straight to the soapy suds, but expert results require a strict order of operations to avoid dragging grit across delicate surfaces.
By following a specific progression, you ensure that each stage builds upon the last without introducing new defects. Proper technique transforms the appearance of a vehicle and shields the paint from environmental degradation for months rather than days. Achieving professional car detailing at home is possible for any owner willing to focus on the chemistry of the cleaning rather than just the effort.
Step 1: Neutralizing Corrosive Danger on Your Wheels

The cleaning process must begin where the most intense contamination lives. Wheels and tires are subjected to brake dust, which is a nasty cocktail of carbon fibers and corrosive iron shavings that can etch into a wheel's finish if left unchecked.
Finding the best car detailing products for this stage involves looking for specialized iron removers. Cleaning these first prevents caustic particles from splashing onto already cleaned paint later in the process. A common point of misinterpretation involves the fear of re-dirtying wheels during the wash, but the risk of iron particles scratching your hood is a much bigger concern.
Dedicated iron removers react with ferrous particles to melt away bonded brake dust. You will know the product is working when the solution turns purple as it dissolves the metal. If your wheels have a specialized finish like matte black or bare polished aluminum, you must use a pH-neutral wheel cleaner to avoid staining.
For the tires, an alkaline degreaser is necessary to remove blooming, which is the brown oxidation that occurs as antiozonants in the rubber meet the air. You will need a stiff-bristled brush for the tire sidewalls and a soft-bristled brush to reach into the barrels and behind the spokes. Clean rubber provides a superior bond for final dressings, which ensures they do not spray onto the paint once you drive away.
Step 2: The Two-Bucket Wash Method for Exterior Car Cleaning

Standard washing is the most common stage where owners accidentally damage their finish. The goal is to minimize friction and ensure that any dirt removed from the car does not find its way back onto the paint. Reliable friction reduction during exterior car cleaning requires two separate buckets. One is filled with your soapy solution, and the other is filled with plain rinse water. Placing grit guards at the bottom of these buckets is essential. They trap sediment at the bottom and keep it away from your wash mitt.
You must choose your soap based on the current state of the car. If the vehicle has an existing wax you want to preserve, use a pH-neutral maintenance shampoo. If you are preparing the car for a full detail, use a strip wash or a high-alkaline soap designed to remove old waxes and sealants.
When moving the microfiber mitt, use linear strokes that follow the natural airflow of the car. Straight lines are much less visible to the human eye than the circular swirl marks caused by traditional circular motions. Starting at the roof allows gravity to pull dirty water away from the sections you have already finished, which prevents cross-contamination.
Step 3: Mechanical and Chemical Decontamination

Even a car that looks clean after a wash can have industrial fallout, rail dust, or tree sap bonded to the clear coat. If you run your hand over the paint and it feels like sandpaper rather than glass, you need to decontaminate the surface. This specific phase of DIY car detailing addresses the unstated assumption that a brand-new car arrives in perfect condition. In reality, factory transport often leaves heavy industrial fallout that requires immediate attention.
The decontamination sequence begins with a chemical iron remover sprayed over the entire body of the vehicle to melt away embedded metallic particles. After rinsing the chemical remover, you move to mechanical decontamination using a clay bar or a synthetic clay mitt. These tools shear off the remaining debris that a standard wash cannot touch.
Lubrication is the absolute priority here. You can use a dedicated clay lubricant or a highly concentrated quick detailer. Without enough lubrication, the clay will mar the paint and create more work for you in the next step. Once the clay glides silently over the surface, you have achieved a truly clean canvas.
Step 4: Precision Paint Correction and Surface Refining

True restoration happens during the correction phase. It is a common misconception that wax removes scratches. Wax only fills them temporarily. To actually fix the paint, you must use an abrasive compound or polish to level the clear coat. For heavy defects and deep swirl marks, a cutting compound paired with a microfiber or wool pad provides the necessary bite. For lighter scratches or to bring out a mirror-like shine, a finishing polish with a foam pad is the better choice.
Using a dual-action polisher is the safest method for enthusiasts. Unlike rotary polishers, which can quickly burn through paint if held in one spot, a Dual Action polisher stops spinning if more than the recommended pressure is applied. Work in small sections, usually two feet by two feet, and use slow, overlapping passes.
Essential car detailing tips for this stage include using a high-intensity light source to verify that the defects are actually gone before moving to the next section. Once finished, use an isopropyl alcohol wipe to remove any polishing oils so the protection layer can bond properly.
Step 5: Applying Long-Term Surface Protection

Once the paint is corrected, it is at its most vulnerable. You must apply a shield to prevent ultraviolet radiation and chemical etching from undoing your hard work. When selecting car detailing supplies for protection, you have three primary variants to choose from based on your goals. Carnauba wax is the traditional choice. It offers a deep, warm glow that looks spectacular on dark colors, though it only lasts about six weeks. Synthetic sealants are easier to apply and provide a more glassy look with durability lasting up to six months.
For the ultimate protection, a ceramic coating is the professional standard. These coatings are semi-permanent and provide incredible hydrophobic properties that repel water and mineral deposits. However, ceramic coatings require a careful application in a controlled environment and a specific cure time, during which the car must stay dry. Regardless of which variant you choose, apply the product in thin, even layers.
Thin applications ensure the buffing process remains easy, whereas excess product only creates unnecessary labor. Readers often wonder if washing is enough on its own, but protection layers are the only way to prevent permanent oxidation from the sun.
Step 6: Interior Deep Cleaning and Material Care

The interior requires a top-to-bottom workflow to ensure you are not re-cleaning the carpets after dusting the dashboard. Start by blowing out crevices with compressed air and vacuuming every surface. For the actual cleaning, you need to match the product to the substrate. For leather, use a pH-neutral cleaner and follow up with a conditioner to keep the material flexible. Using harsh chemicals on leather can strip the top coat and lead to premature cracking.
For plastic and vinyl surfaces, use an interior detailer that includes UV inhibitors. Added UV protection prevents the dashboard from fading or becoming brittle under solar heat. If you have fabric seats, a carpet extractor or a dedicated fabric foam cleaner can lift deep-seated stains. Avoid using dressing products that leave a greasy or shiny film.
A professional interior should have a matte, like-new finish that is dry to the touch. Maintaining a matte finish not only looks better but also prevents dust from immediately sticking to the surfaces you just cleaned.
Step 7: Final Optical Inspection and Glass Treatment

The final step is where you address the small details that complete the look. The final audit includes the door jambs, the exhaust tips, and the glass. For the glass, always use an ammonia-free cleaner. Ammonia can damage aftermarket window tint and dry out the rubber seals around the windows.
Use a waffle-weave microfiber towel to prevent streaks. A professional trick is to wipe the outside glass vertically and the inside glass horizontally. If you see a streak, the direction of the line tells you exactly which side of the glass it is on.
Finish by applying a water-based tire dressing. Unlike solvent-based dressings, water-based versions do not dry out the rubber or turn brown over time. For the exterior plastic trim, apply a restorative trim coating to bring back the deep black color and protect it from graying. Finally, perform a walk-around with a high-intensity flashlight to ensure no wax residue or polish remains in the gaps between panels.
Addressing Common Maintenance Assumptions
A final unstated assumption many readers hold is that dish soap is a safe, easy alternative for a quick wash. However, the harsh chemicals in dish soap are designed to strip grease, which means they will also strip the essential oils and protection from your automotive finish. Real maintenance is about consistency and using the right tools for the job.
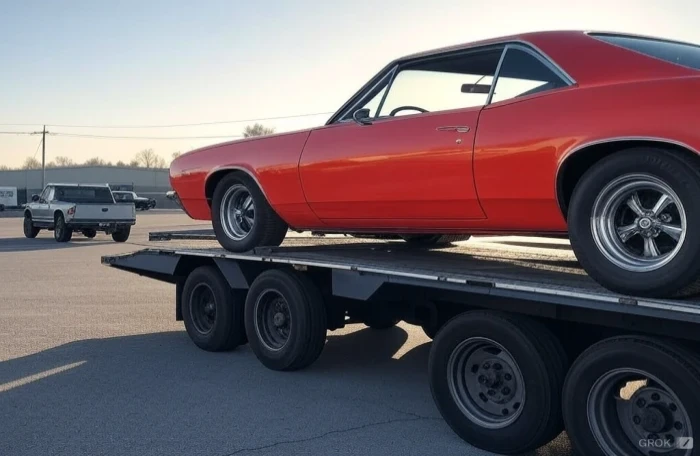
Whether you are preparing a car for a local show or coordinating a cross-country move, the effort you put into these seven steps determines how well your vehicle resists the elements. By following a logical progression and choosing the right protection, you turn a simple cleaning into a professional-grade restoration.
Secure Your Transport with AmeriFreight Auto Transport
Don't let the stress of auto transport slow you down. AmeriFreight Auto Transport offers a reliable, top-rated solution to move your vehicle safely and affordably across the country. We handle the logistics so you can focus on the road ahead.
Get Your Free, No-Obligation Shipping Quote Today!